The 3D printing community has given away a tremendous amount of information and upgrades and just great stuff to further 3D printing. I'm happy to finally be able to participate for the hopeful betterment of us all.
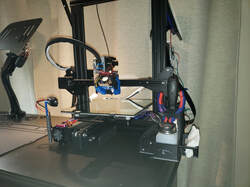
I've never liked the stock cable sleeves, so I designed and made new ones from Taslan and #3YKK coil zippers. I used 36" (914mm) long zippers for this project, but one Ender only requires one 36" zipper and one 18" zipper. This is how to make them.
I've never liked the stock cable sleeves, so I designed and made new ones from Taslan and #3YKK coil zippers. I used 36" (914mm) long zippers for this project, but one Ender only requires one 36" zipper and one 18" zipper. This is how to make them.
This will require a sewing machine, at least 1" X 72" Taslan fabric, cut on the bias, two 36" #3 YKK separating zippers, a hot knife, possible wiring extensions, and about 30 minutes if one is already equipped and has experience with synthetic fabric work. Be sure to make cuts with a hot knife to prevent fraying.
I haven't figured out how to match photos with these instructions, so please refer to the photos as needed.
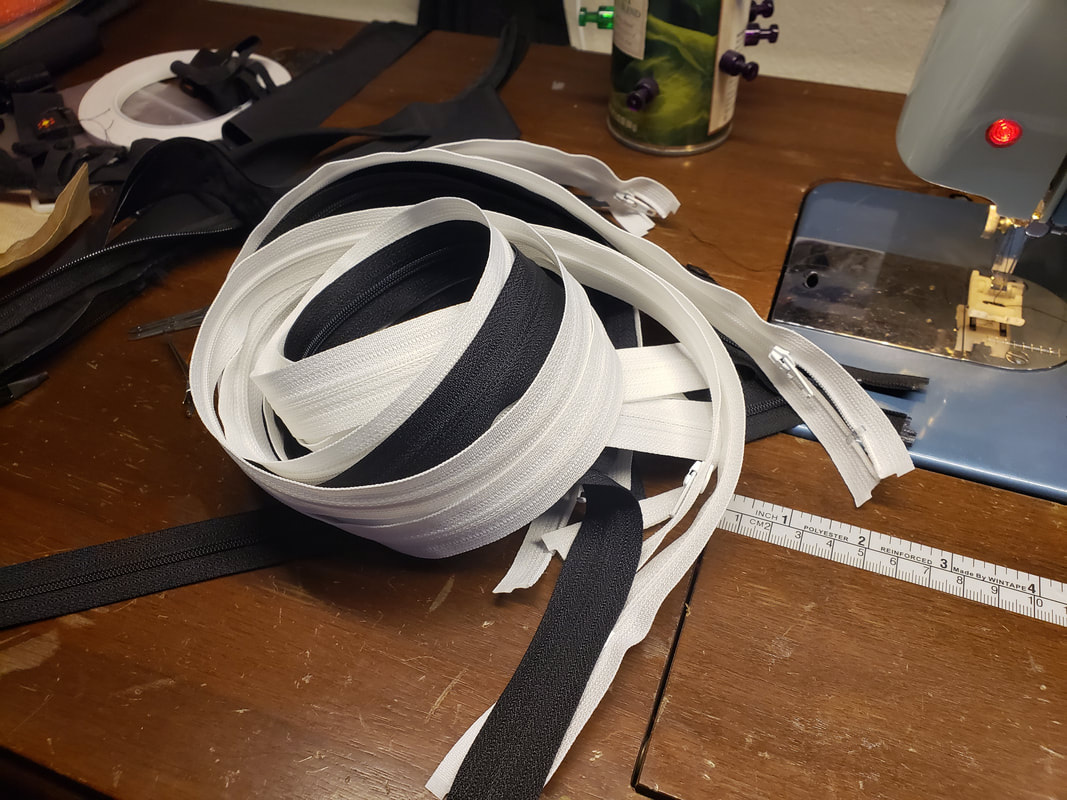
I had purchased five 36" #3 separating zippers from ZipperStop: https://smile.amazon.com/gp/product/B07T99N71P. I purchase quite a bit from them and they have great values, products, and customer service. These zippers do not have any metal parts, which is nice.
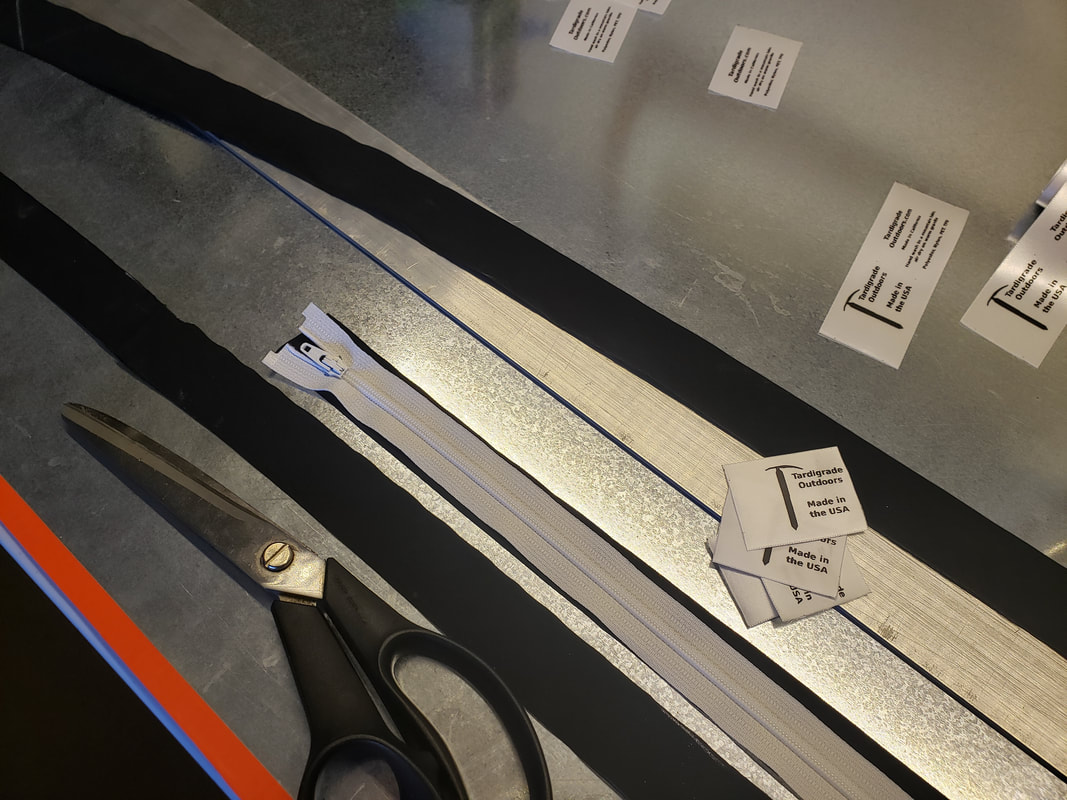
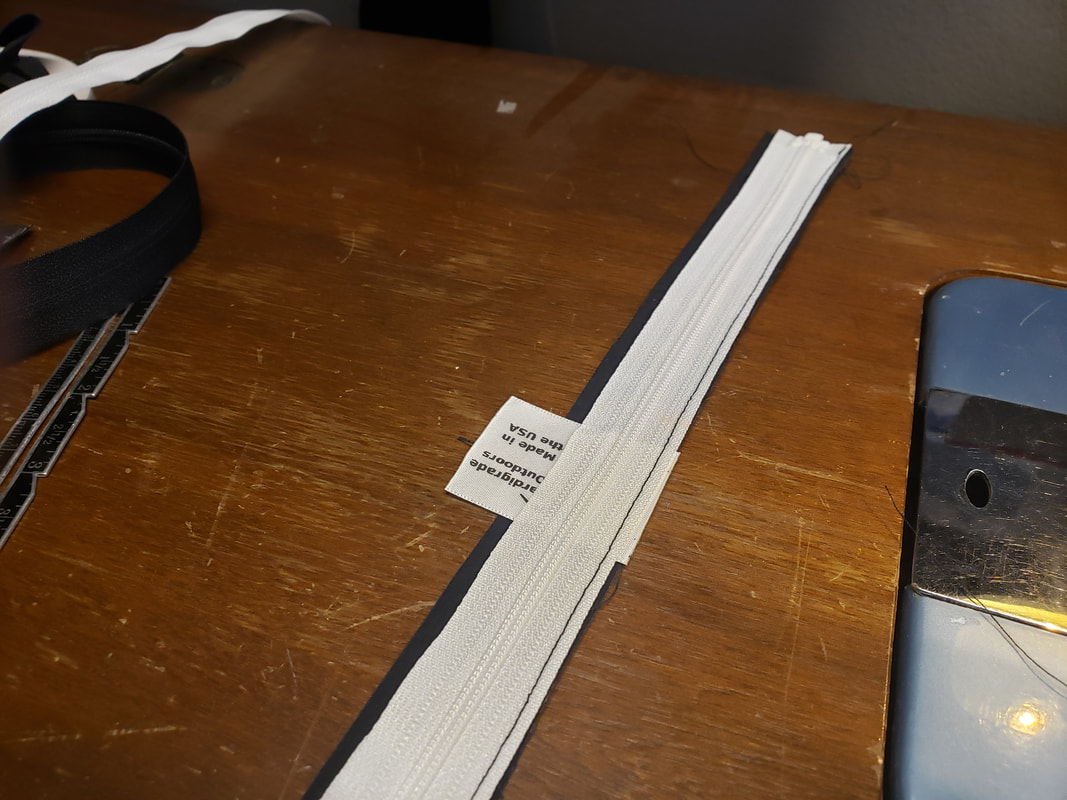
I cut the Taslan on the bias a little wider than the zippers and just as long, but matching width is just fine.
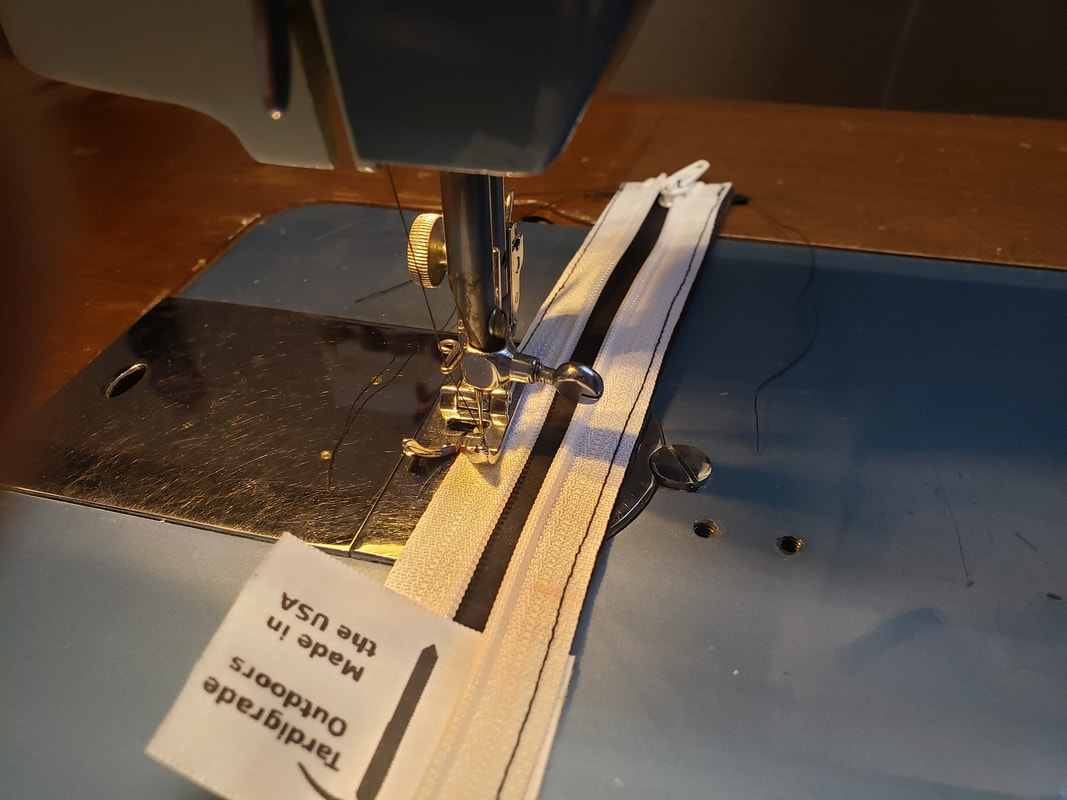
Next, I sewed one side, opened up the zipper (as my fabric was a little wide) and sewed the other side.
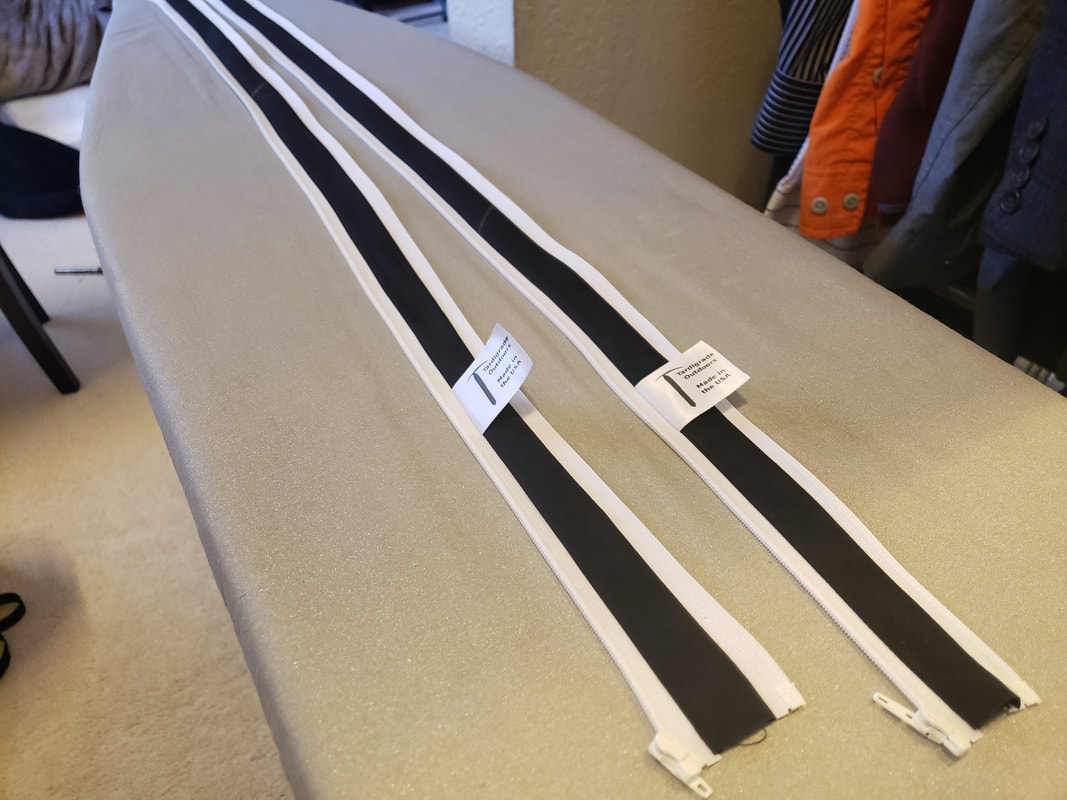
Then, I ironed the seams flat.
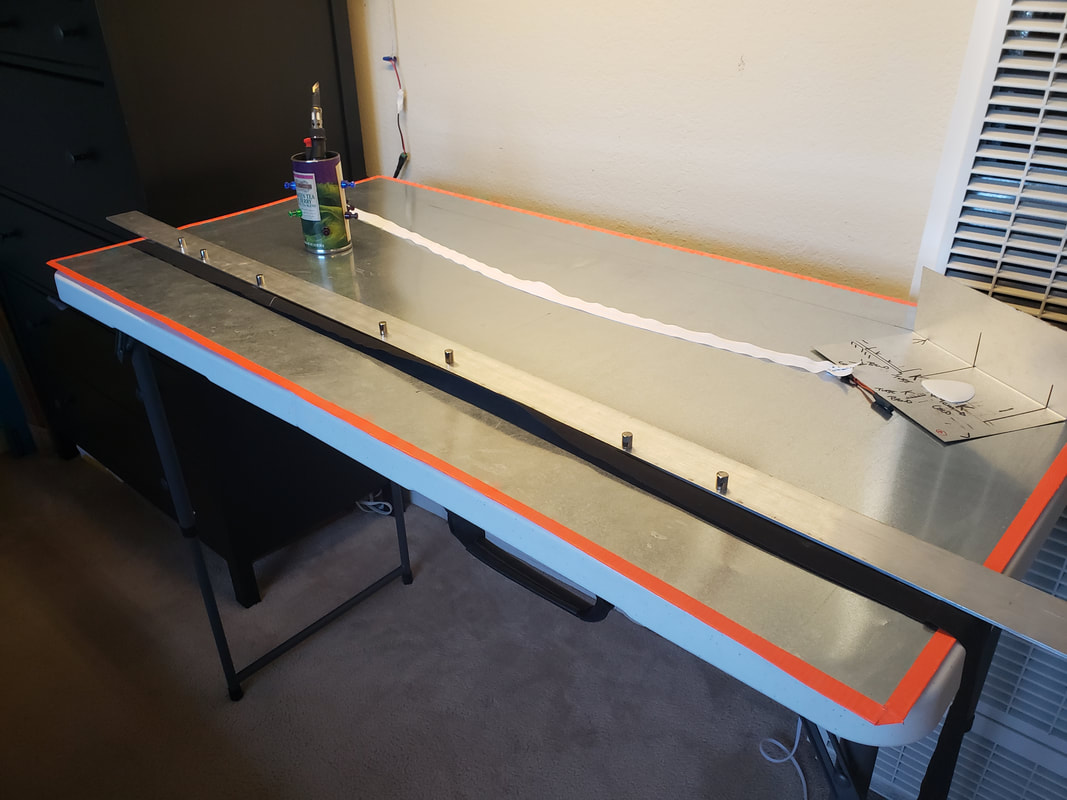
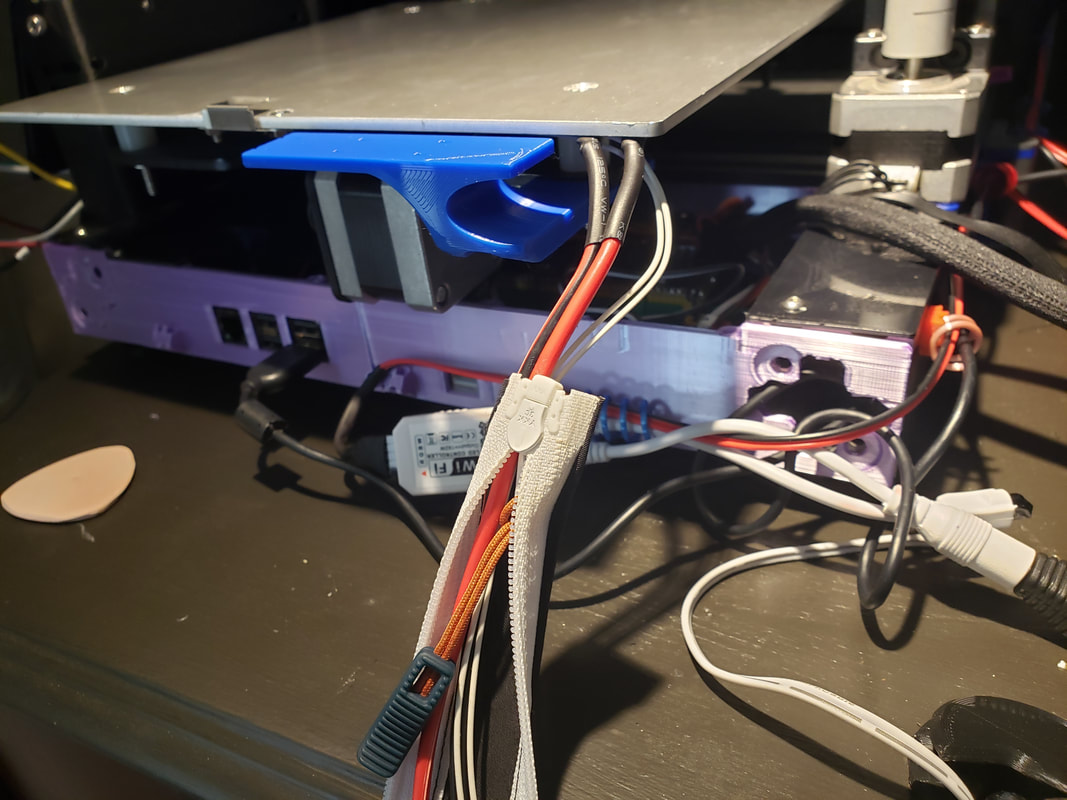
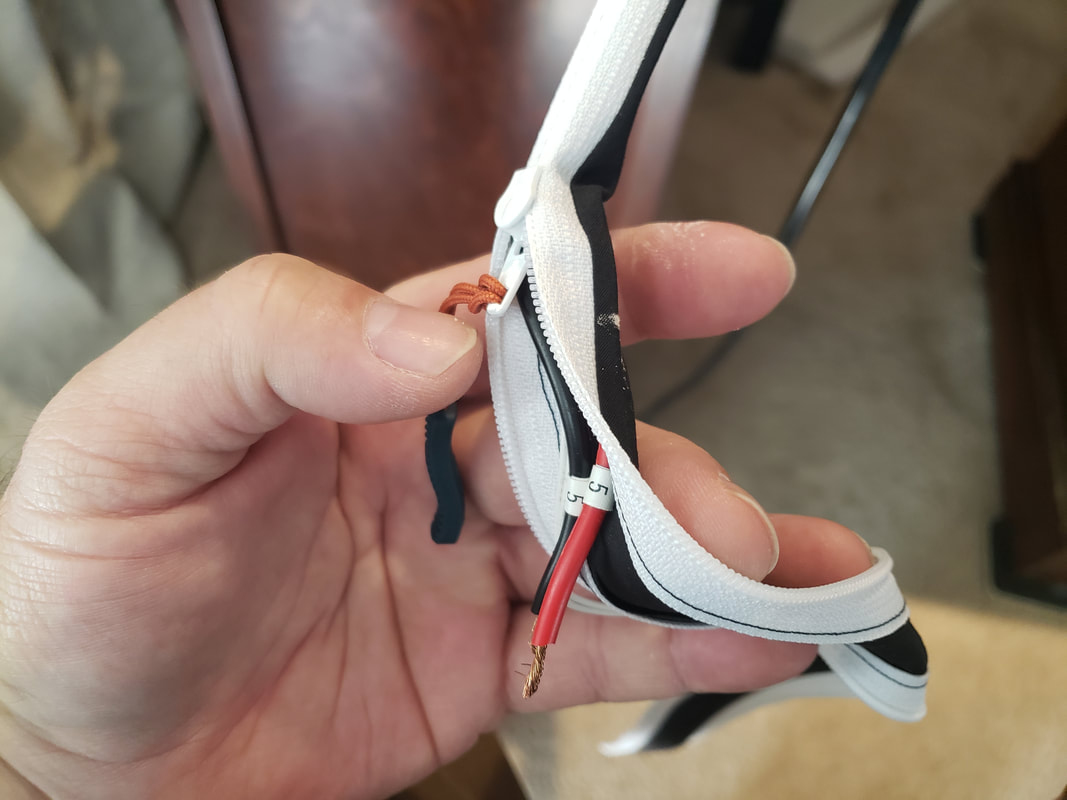
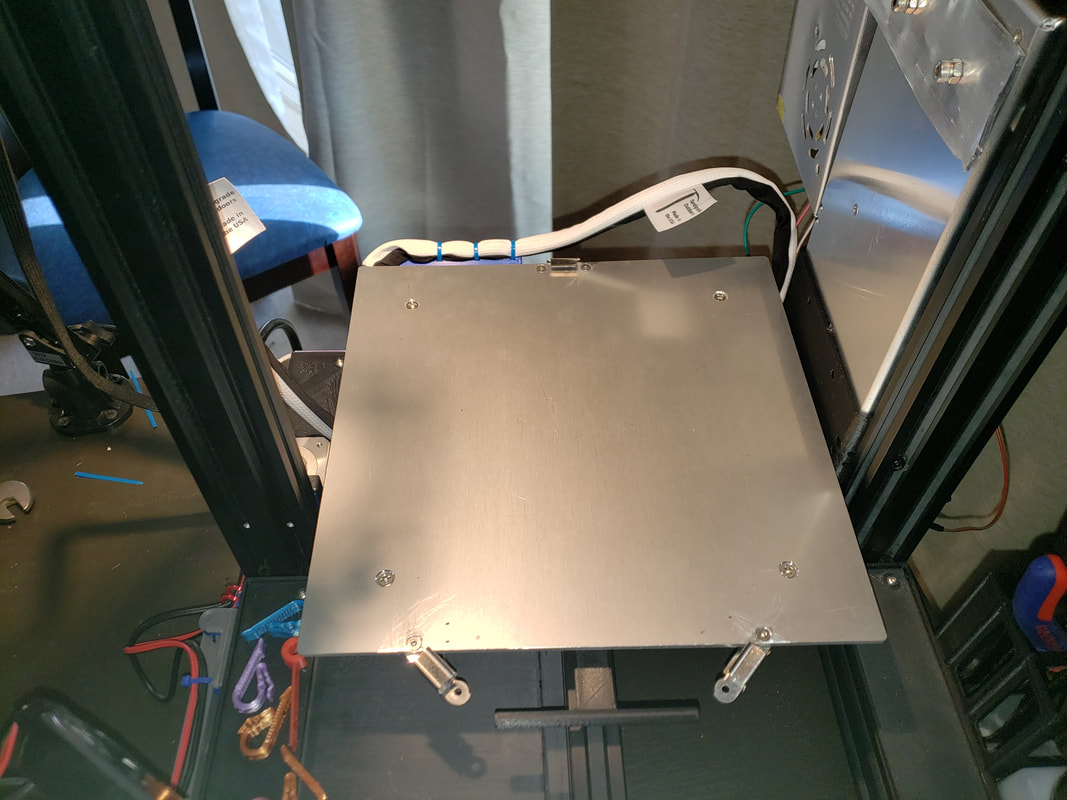
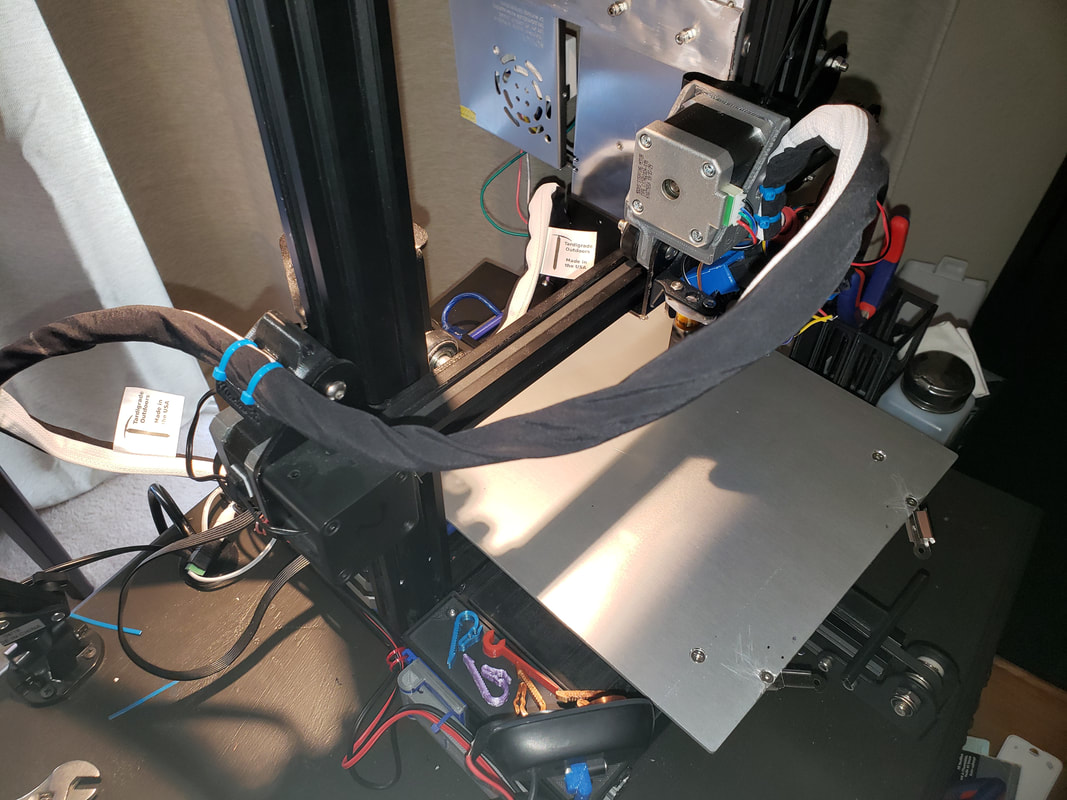
Next was to cut the tube to length. In this example, we'll use the heated bed cables. I attached the cables sleeve to the bed cables, zipped them up, and made a mark at the length I wanted. Cutting the tube at the non-connecting side would work just great, as I remove the zipper slider and store it in a drawer.
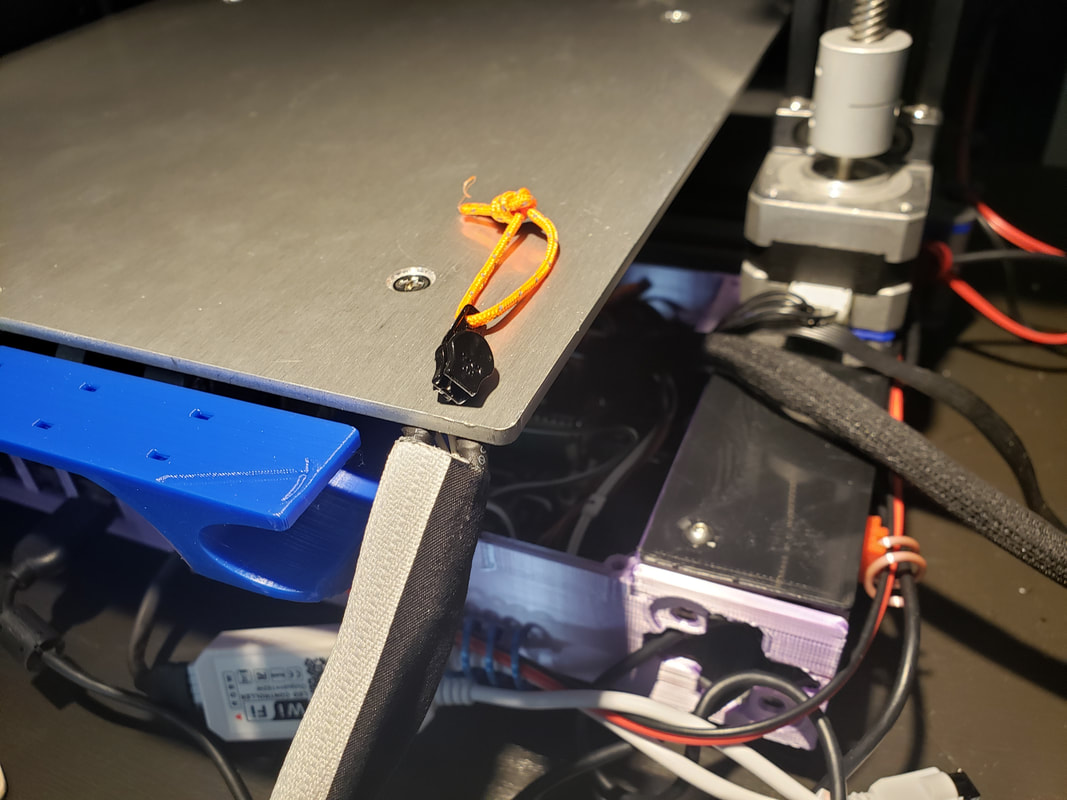
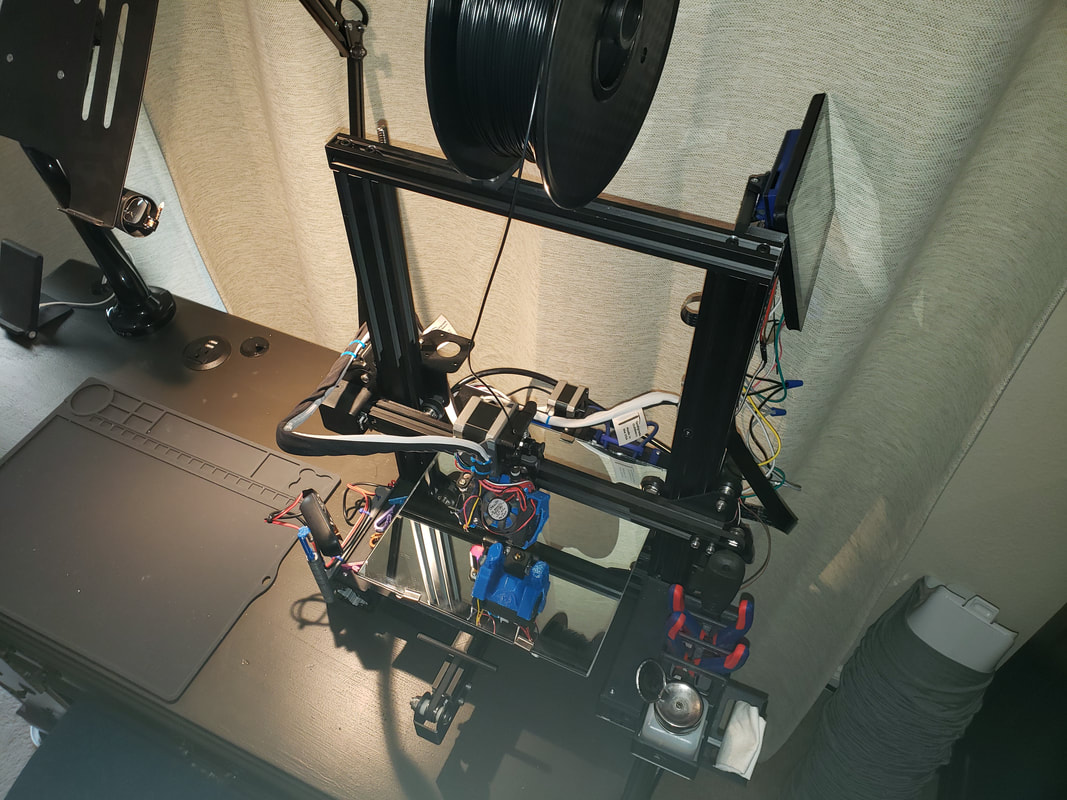
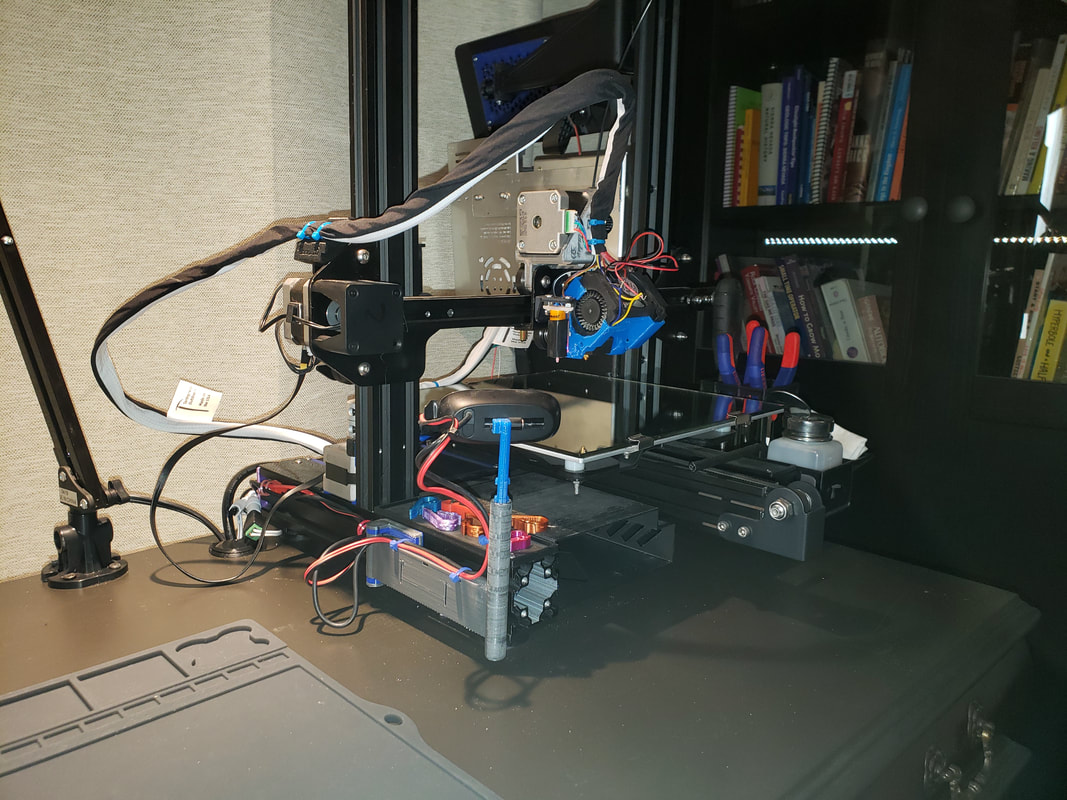
Next, I zipped on the tube, set the zipper slider aside and check to make sure the tube was routed well. Moving the bed around, ensuring nothing would catch. I then used cable ties to secure the tube to my newly designed bed cables mount and into the electronic case.
When the sleeve is ready to be removed, just gently pull it apart from the top. Slide the slider down from the top to the bottom to zipper it back up.
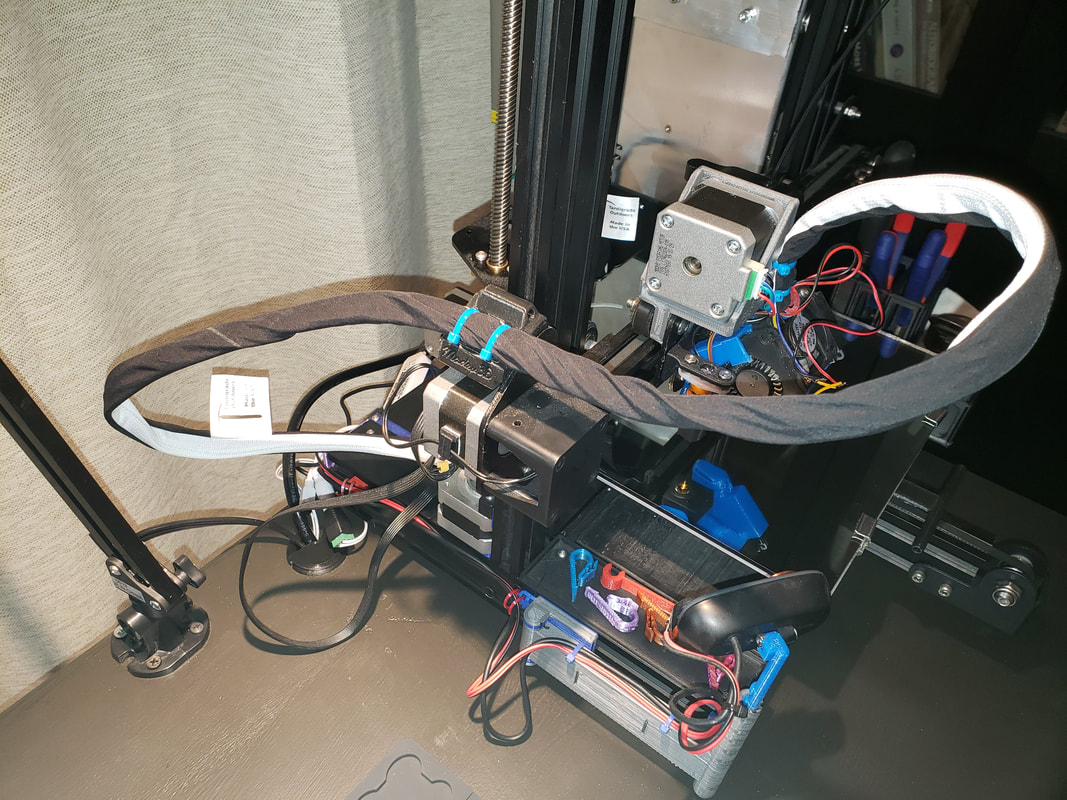
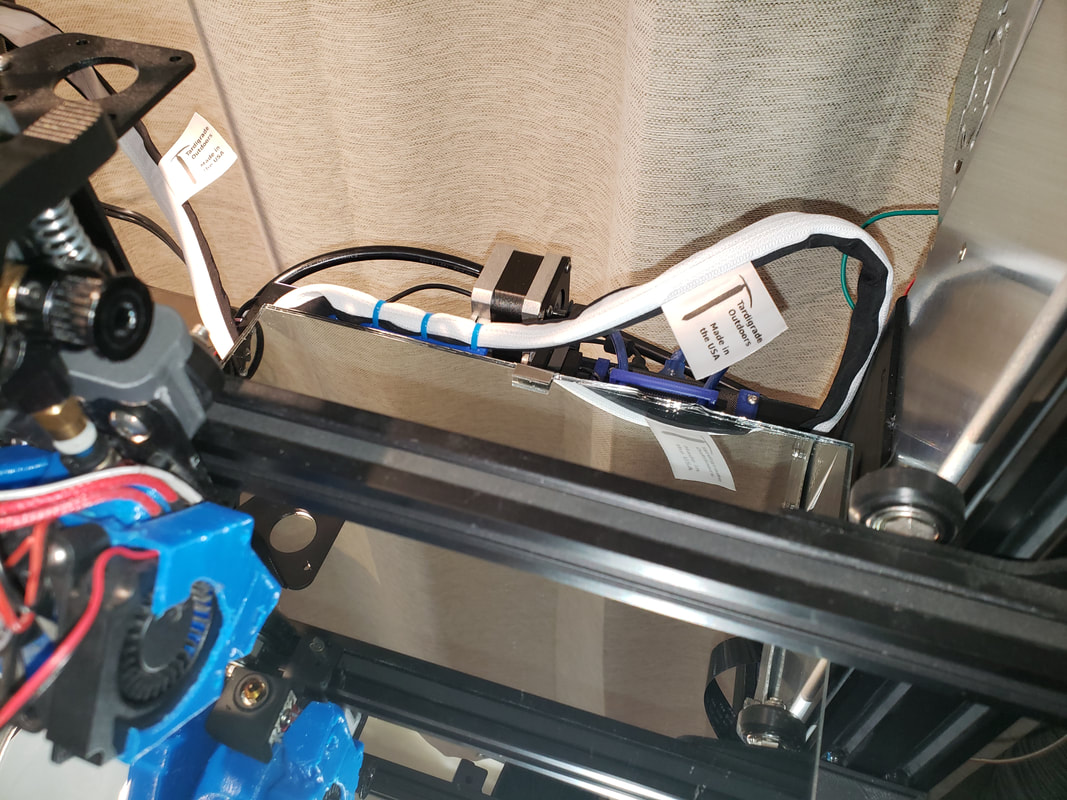
These same steps can be applied to the other cable looms on your printer.
I had purchased five 36" #3 separating zippers from ZipperStop: https://smile.amazon.com/gp/product/B07T99N71P. I purchase quite a bit from them and they have great values, products, and customer service. These zippers do not have any metal parts, which is nice.
I cut the Taslan on the bias a little wider than the zippers and just as long, but matching width is just fine.
Next, I sewed one side, opened up the zipper (as my fabric was a little wide) and sewed the other side.
Then, I ironed the seams flat.
Next was to cut the tube to length. In this example, we'll use the heated bed cables. I attached the cables sleeve to the bed cables, zipped them up, and made a mark at the length I wanted. Cutting the tube at the non-connecting side would work just great, as I remove the zipper slider and store it in a drawer.
Next, I zipped on the tube, set the zipper slider aside and check to make sure the tube was routed well. Moving the bed around, ensuring nothing would catch. I then used cable ties to secure the tube to my newly designed bed cables mount and into the electronic case.
When the sleeve is ready to be removed, just gently pull it apart from the top. Slide the slider down from the top to the bottom to zipper it back up.
These same steps can be applied to the other cable looms on your printer.

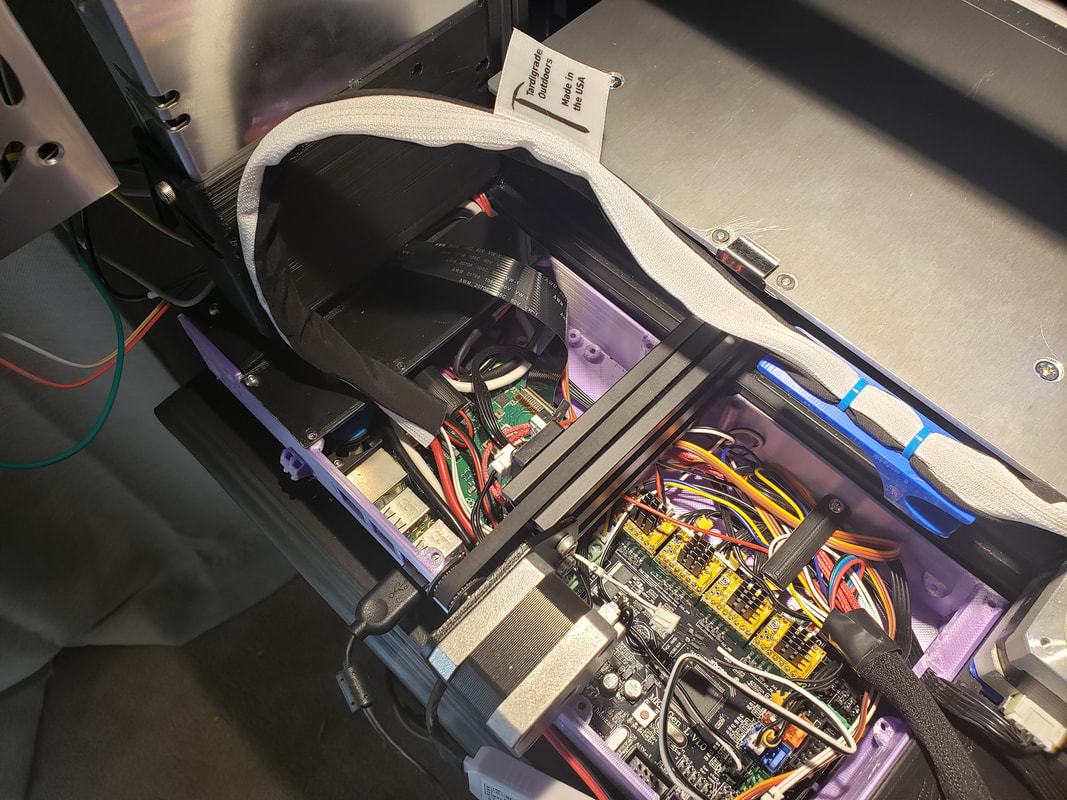
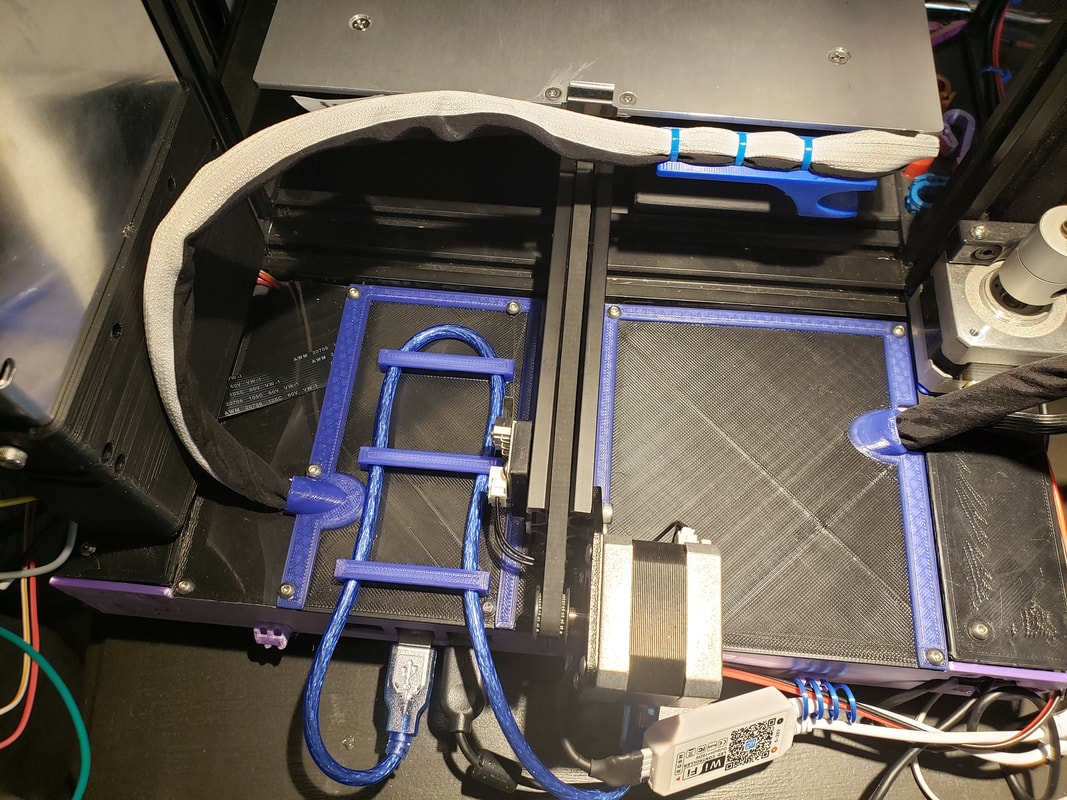
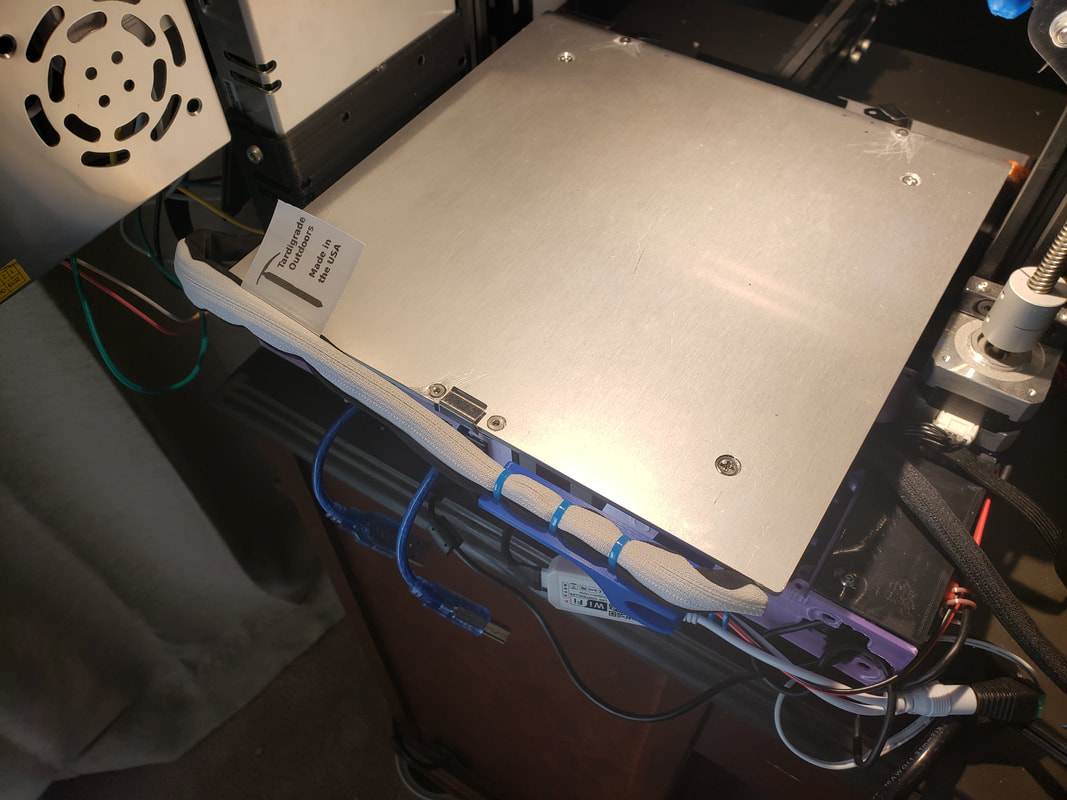
Finished:
Links to the Bed Cables Mount And Router I designed: https://www.thingiverse.com/thing:3994431
Link to the electronics enclosure I designed: https://www.thingiverse.com/thing:3991940
Links to the Bed Cables Mount And Router I designed: https://www.thingiverse.com/thing:3994431
Link to the electronics enclosure I designed: https://www.thingiverse.com/thing:3991940
 RSS Feed
