| I'm getting ready for a backpacking trip for next week, so I've been catching up on some car maintenance. A few of the things I needed to tend to were replacing the spark plugs, somehow cleaning the headlamp covers, and replacing the engine coolant. Today's blog post is about my experience using the headlight cleaning kit, Mothers PowerBall 4Lights Headlight Restoration Kit. |
| The spark plugs and engine coolant went fine, except for those damn plastic clips that hold my car parts together. They always bust apart or shatter, and end up in pieces. What happened to just bolting cars together? Anyways, the car is 10 years old now and I figured I ought to spend a little bit of money on a couple of sets of plastic clippy things to replace the 100s that have been broken. But, this blog post is about dealing with our headlamps. They are scratched, pitted, and foggy, and I thought I'd share my experience using one of those crazy headlamp cover cleaner kits. | 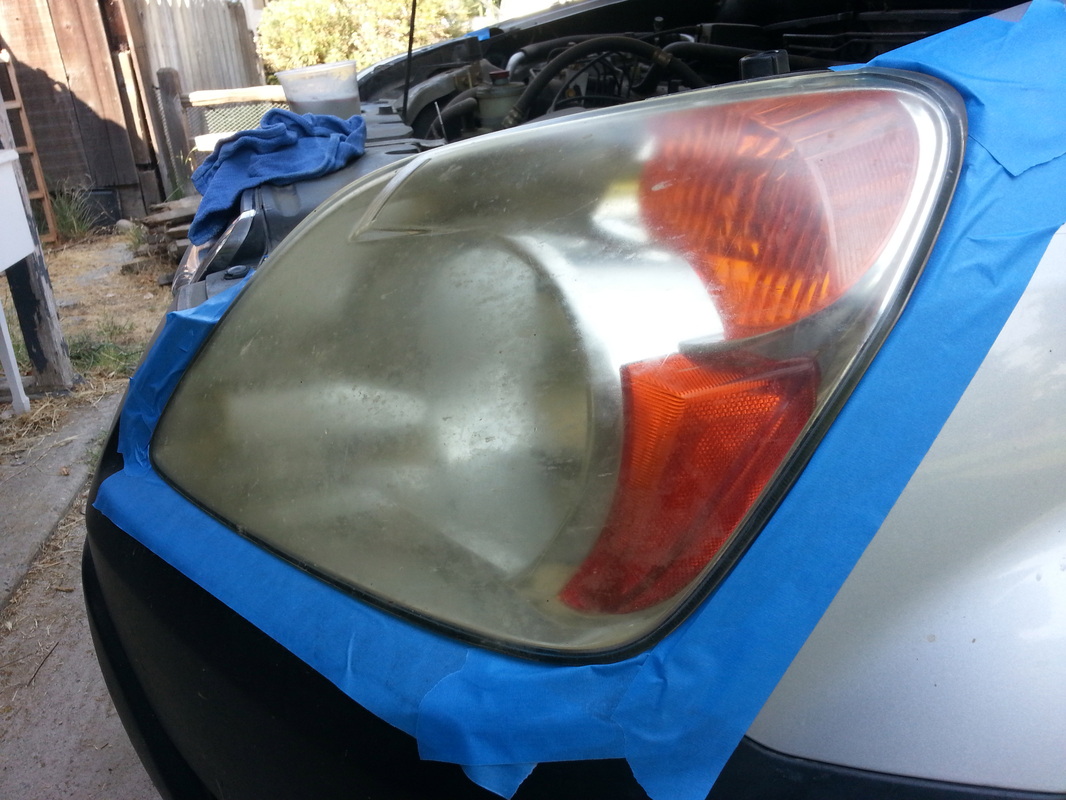
|
| I ended up purchasing Mothers PowerBall 4Lights Headlight Restoration Kit from the local auto parts place because honestly, they all looked alike to me and I didn't want to look them up on the Google first. I can see now that is has some good reviews. According to the directions, I'm supposed to use the blue buffer thing and the gooey stuff, then use the sandpaper pad if that doesn't work, but my lenses are thrashed, so I say #$% that and go right for the sandpaper. 
I get this message from the sandpaper kit. So, I use the blue thing and goo and it doesn't do shit. Fine, on to the sandpaper kit. | 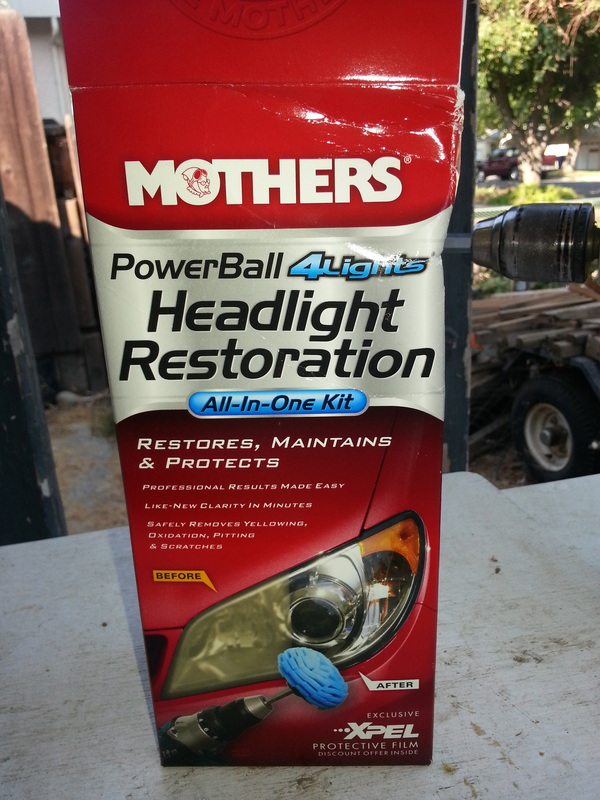
|
| I read all the steps before I start, because the instructions tell me to, and find that they don't bother to tell me how long I'm supposed to be scrubbing everything for. I find this to be perplexing, so I decide to do the four steps with this timing: 4 minutes on #1, 5 minutes on #2, 6 minutes on #3, 7 minutes on #4. | 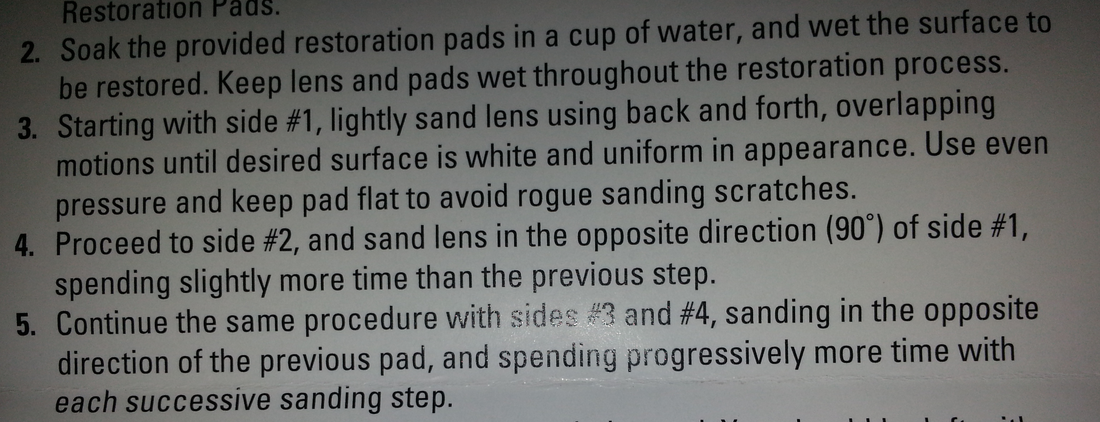
|
| Come to find out that 4 minutes is a real long time to be scrubbing something so small. I stopped at 2 minutes, reset the timer for 3 minutes and moved onto the #2 sandpaper. I decided that 'slightly more time' translated to about 10 seconds longer for each subsequent step. If that wasn't good enough, I could just start over. But, after the 4 steps and polishing for about 5 minutes, I was pretty happy with how they came out. But, I wonder how long this will last. | 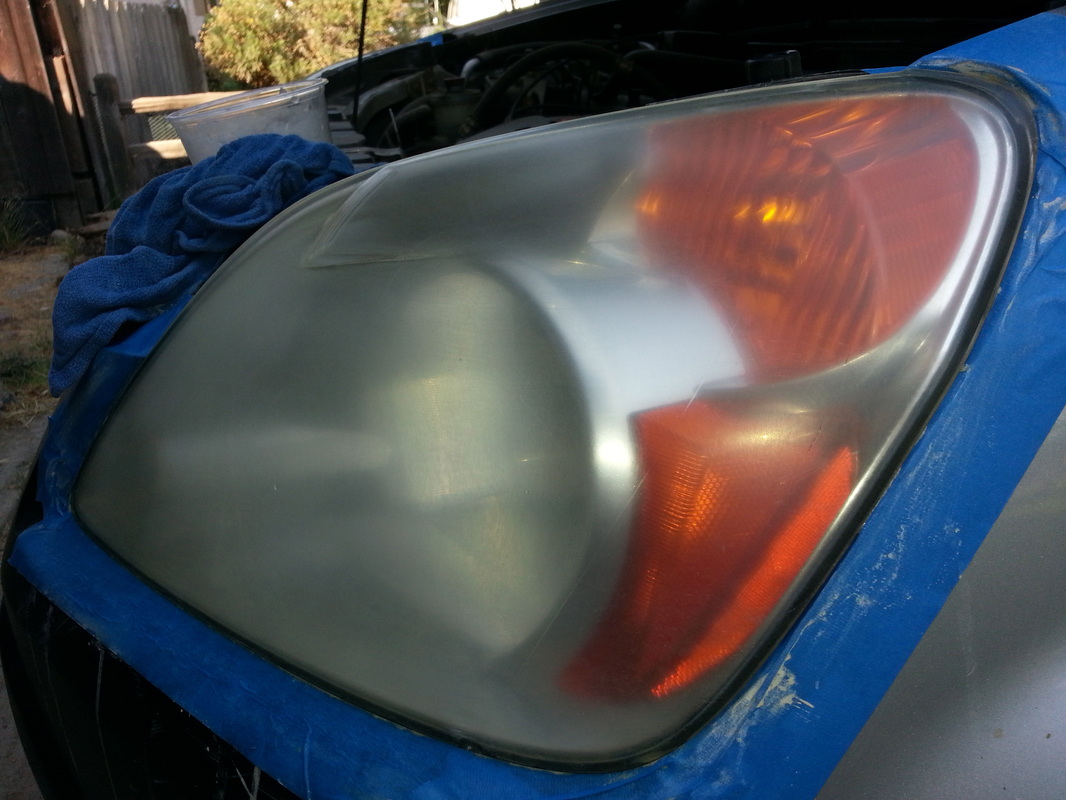
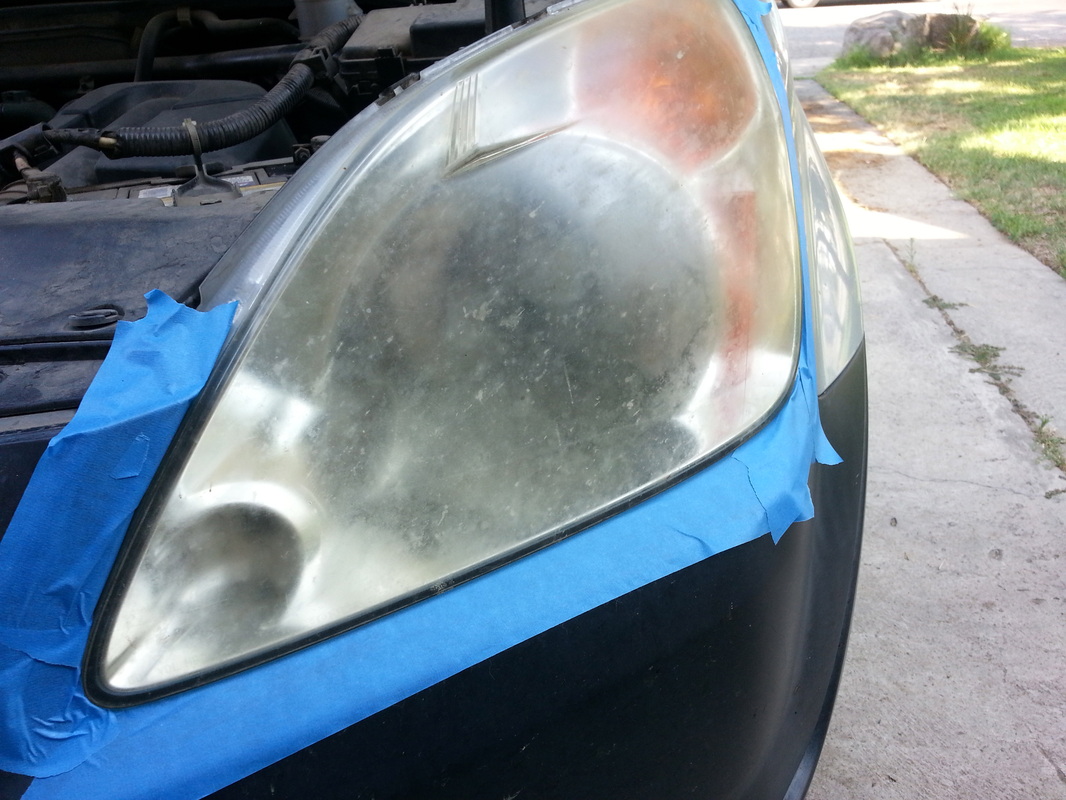
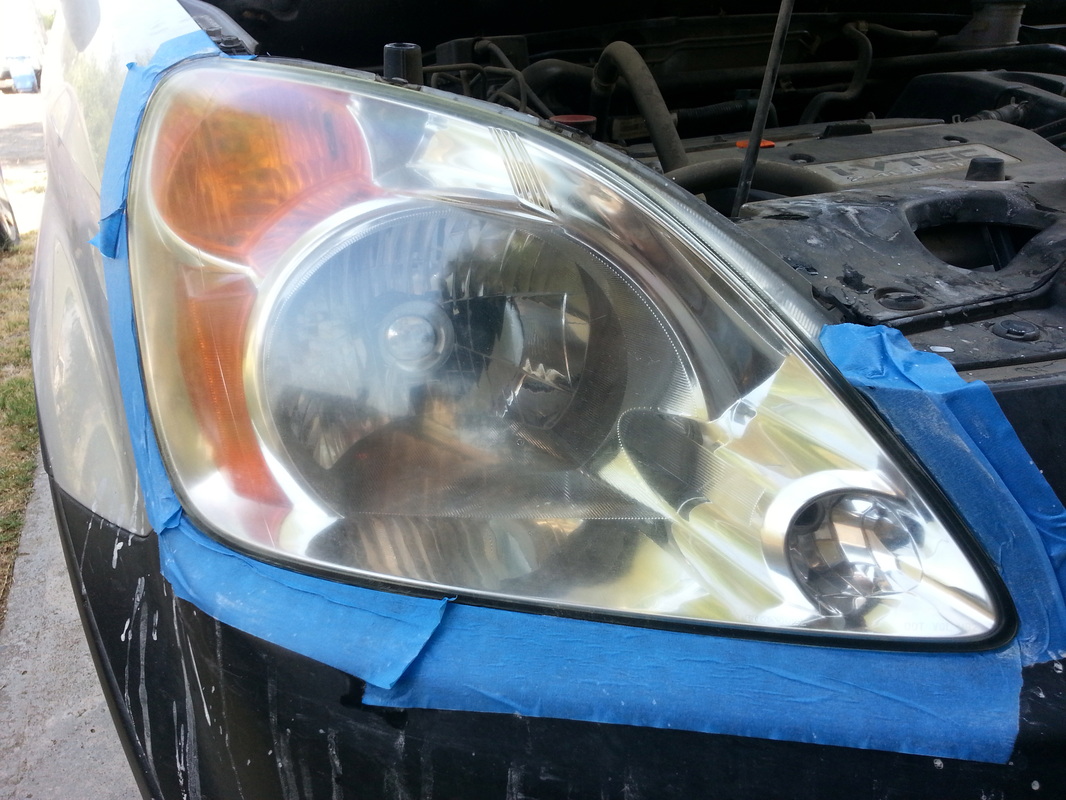
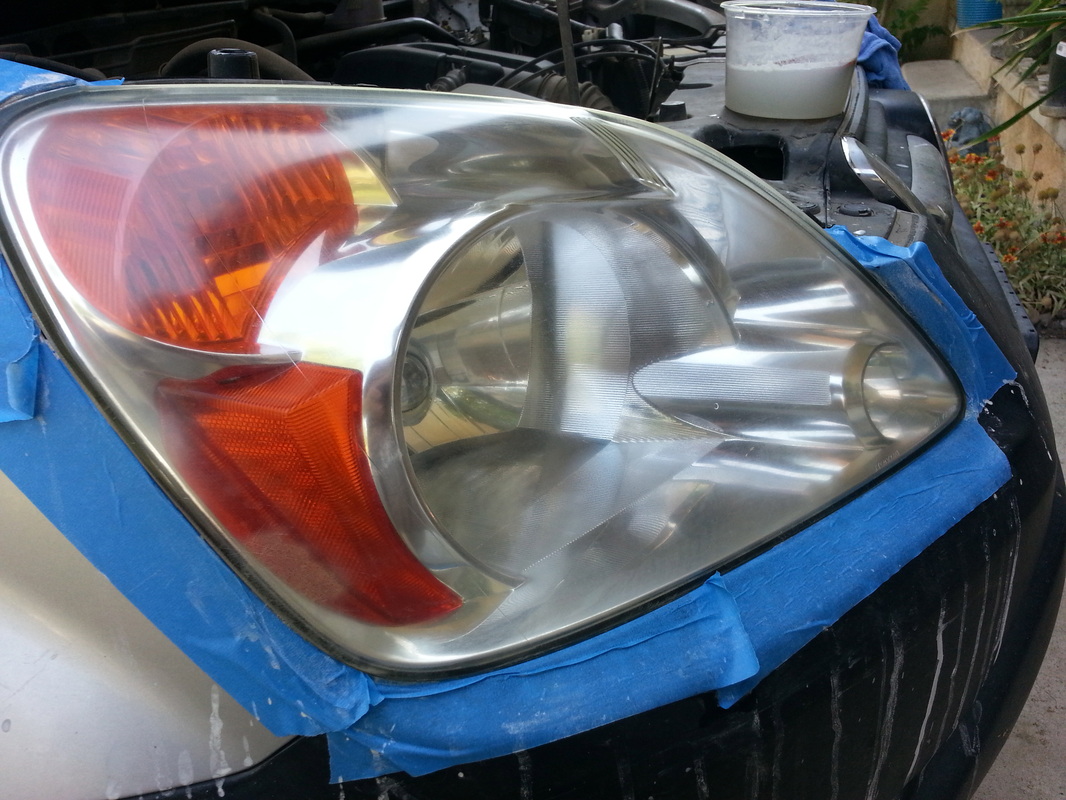
This is what they looked like after the sandpaper pads. Don't panic.
|
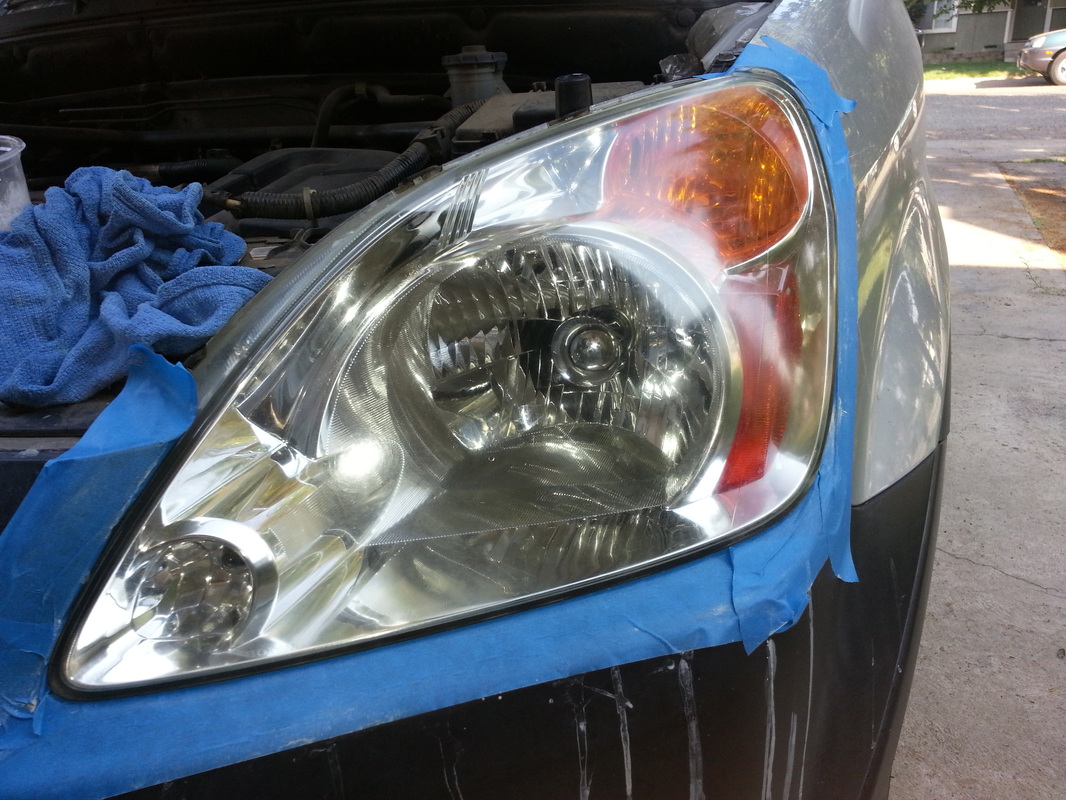
The final product.
| 
I'm pretty happy with how they came out.
|
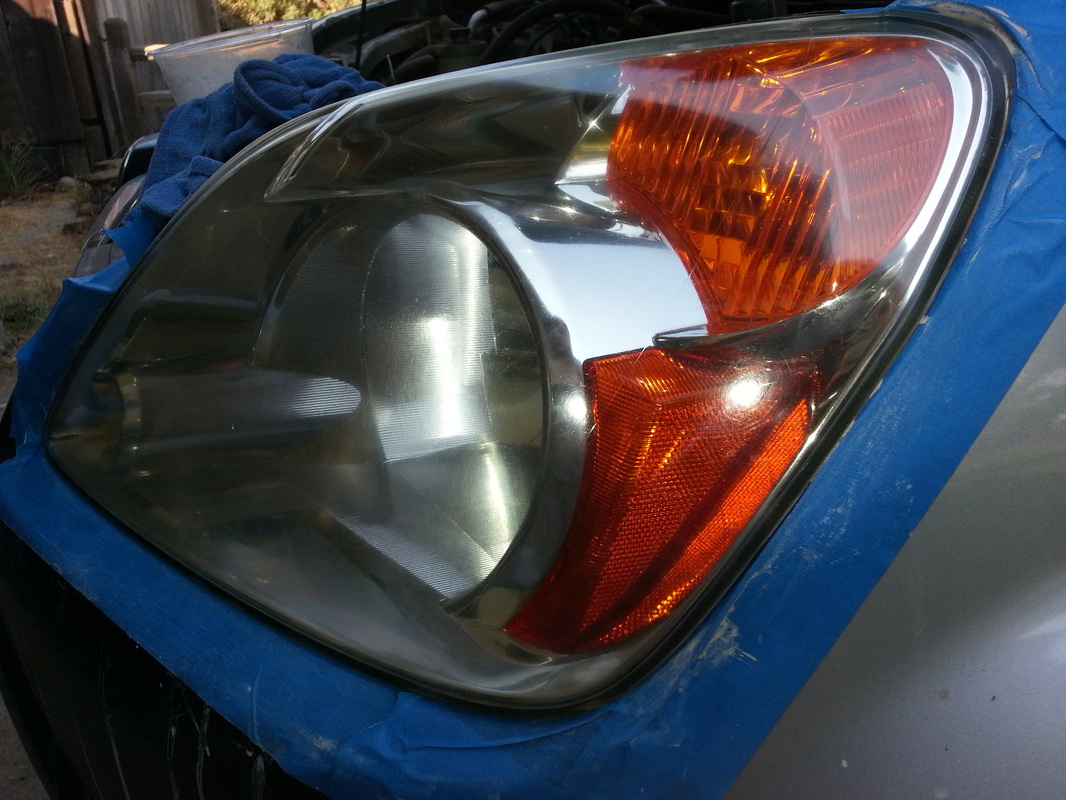
The passenger side came out great, also:
| 
|
 RSS Feed
