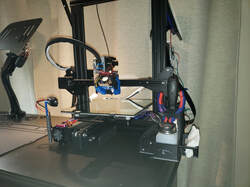
I looked around to buy a replacement thumbstick, but I couldn't find any. So, I set about designing and making my own.
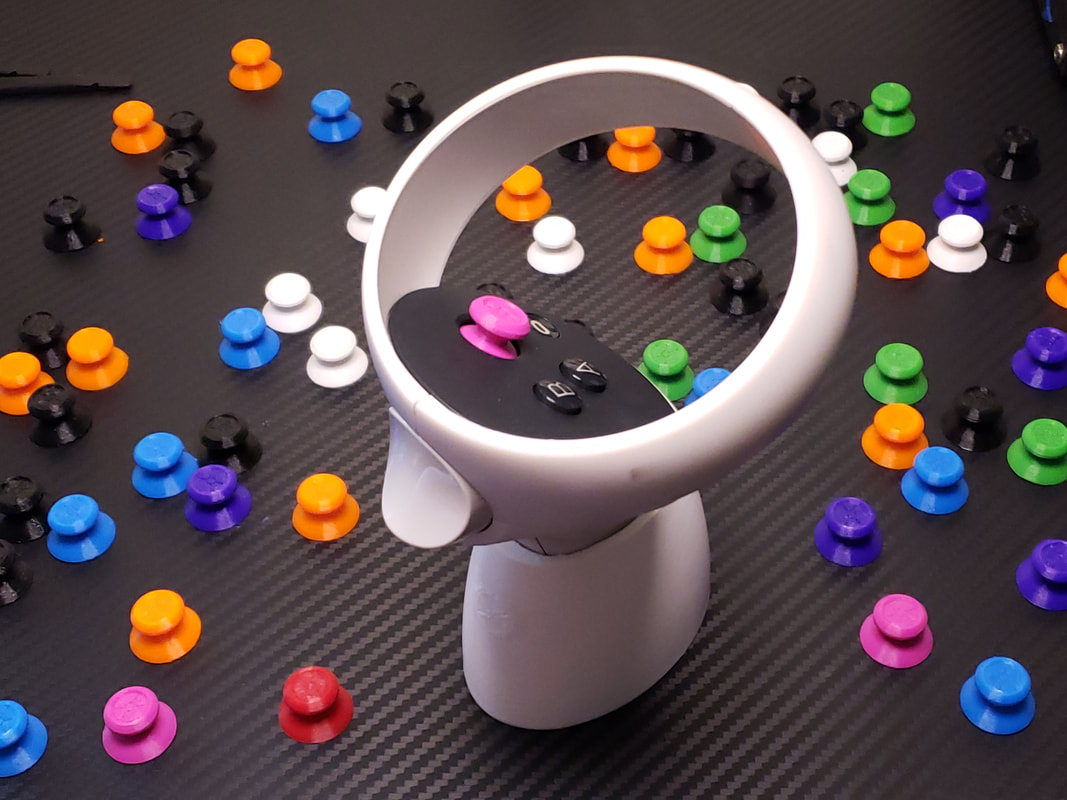
As the original joystick on my Quest 2 controller broke within 8 months, I wanted a replacement thumbstick to last a very long time. After 11 revisions to dial in the fit, I got it right. Earlier versions became loose after a few months, but this is have been great! As I still couldn't find them elsewhere, I made them available for others. I've sold over one hundred so far:
As the original joystick on my Quest 2 controller broke within 8 months, I wanted a replacement thumbstick to last a very long time. After 11 revisions to dial in the fit, I got it right. Earlier versions became loose after a few months, but this is have been great! As I still couldn't find them elsewhere, I made them available for others. I've sold over one hundred so far:
They can be found on eBay, here: https://www.ebay.com/itm/125705005650
If you buy any, let me know how they work for you! I put a lot of effort into these, and even been making the thumbsticks in a variety of colors.
If you buy any, let me know how they work for you! I put a lot of effort into these, and even been making the thumbsticks in a variety of colors.

 RSS Feed
